How To Install Zabbix Server 6.0 On Debian 115 min read
In this tutorial how to install zabbix server 6.0 on debian 11. Zabbix 6.0 is newly latest release from officially. So lets start this guide for install step by step.
#######################################
Operating system: Debian 11
IP address	: 10.66.10.15
RAM		: 2GB
DISK space	: 50GB
vCPU		: 2
Service		: ZABBIX 6.0
PHP version	: 7.4
Mysql		: 8.0 must be
Hostname	: zabbix-server.technologyrss.local
#######################################
Step #01: Install zabbix 6.0.
root@zabbix-server:~# apt update && apt -y upgrade
root@zabbix-server:~# wget https://repo.zabbix.com/zabbix/6.0/debian/pool/main/z/zabbix-release/zabbix-release_6.0-1+debian11_all.deb
root@zabbix-server:~# dpkg -i zabbix-release_6.0-1+debian11_all.deb
root@zabbix-server:~# apt update
root@zabbix-server:~# apt install -y zabbix-server-mysql zabbix-frontend-php zabbix-nginx-conf zabbix-sql-scripts zabbix-agent
Step #02: Install mariadb database and configure.
root@zabbix-server:~# wget https://dev.mysql.com/get/mysql-apt-config_0.8.22-1_all.deb
root@zabbix-server:~# apt install ./mysql-apt-config_0.8.22-1_all.deb
root@zabbix-server:~# sudo dpkg-reconfigure mysql-apt-config
root@zabbix-server:~# sudo apt update
root@zabbix-server:~# sudo apt install mariadb-server
root@zabbix-server:~# systemctl enable --now mysql
root@zabbix-server:~# systemctl status mysql
root@zabbix-server:~# mysql -u root -p
For reset mysql root password using below command.
mysql> ALTER USER 'root'@'localhost' IDENTIFIED BY 'P@ssw0rd@123';	//mysql 8 reset password command
Query OK, 0 rows affected (0.01 sec)
flush privileges;
\q
Step #03: Create database for zabbix user.
root@zabbix-server:~# mysql -uroot -p
type mysql root password for login terminal then create database, user and password.
create database zabbix_db character set utf8 collate utf8_bin;
create user zabbix_user@localhost identified by 'zabbix@123';
GRANT CREATE, ALTER, DROP, INSERT, UPDATE, DELETE, SELECT, REFERENCES, RELOAD on *.* TO 'zabbix_user'@'localhost' WITH GRANT OPTION;
grant all privileges on zabbix_db.* to zabbix_user@localhost;
FLUSH PRIVILEGES;
\q
Step #04: Import zabbix default database into created DB.
root@zabbix-server:~# zcat /usr/share/doc/zabbix-sql-scripts/mysql/server.sql.gz | mysql -uroot -p zabbix_db
Then type mysql root password.
Step #05: Add database name, user and password into zabbix config file.
root@zabbix-server:~# nano /etc/zabbix/zabbix_server.conf
Insert below config into zabbix conf file.
DBName=zabbix_db
DBUser=zabbix_user
DBPassword=zabbix@123
Step #06: Setup nginx web server.
root@zabbix-server:~# nano /etc/zabbix/nginx.conf
Remove # from below section and must be replace your server ip address.
listen          80;
server_name	10.66.10.15
Step #07: Restart and enable all services.
root@zabbix-server:~# systemctl restart zabbix-server zabbix-agent nginx php7.4-fpm
root@zabbix-server:~# systemctl enable zabbix-server zabbix-agent nginx php7.4-fpm
Access your server ip address and complete web installation process.
http://10.66.10.15/setup.php
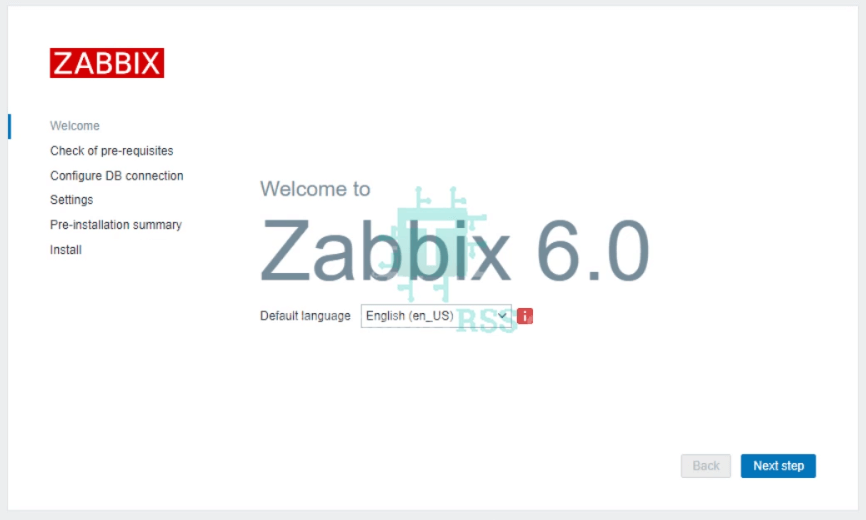
Click Next step for check pre-requisites.

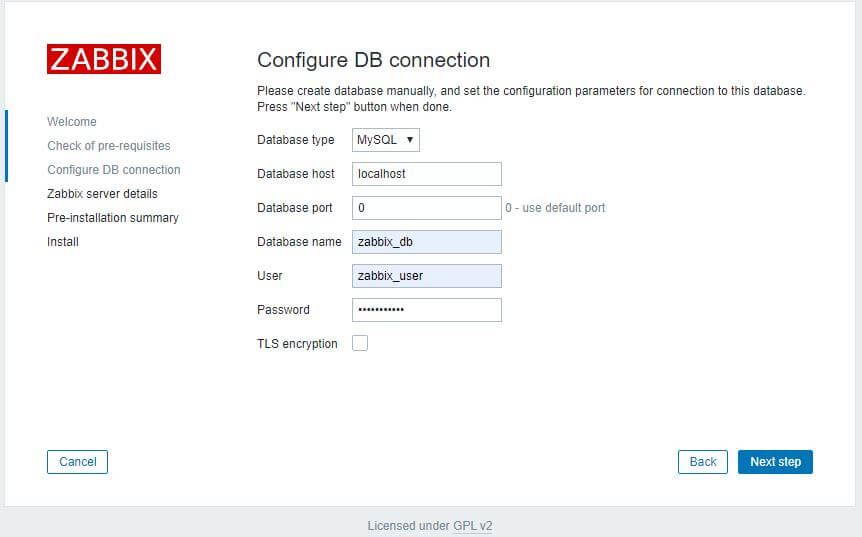
Click Next step for configure DB connection.
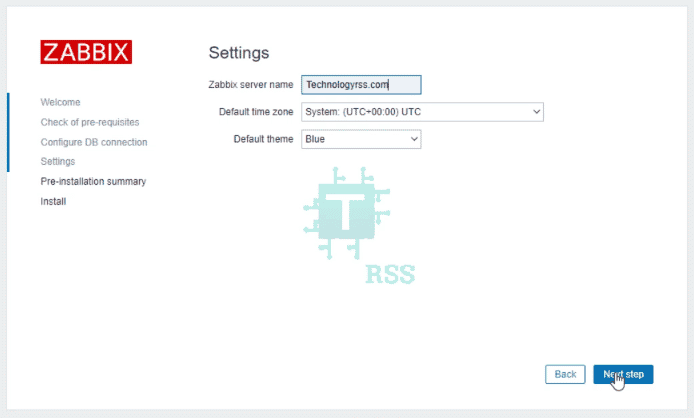
Click Next step for select theme or skip this step.
Click Next step for see pre installation summary.
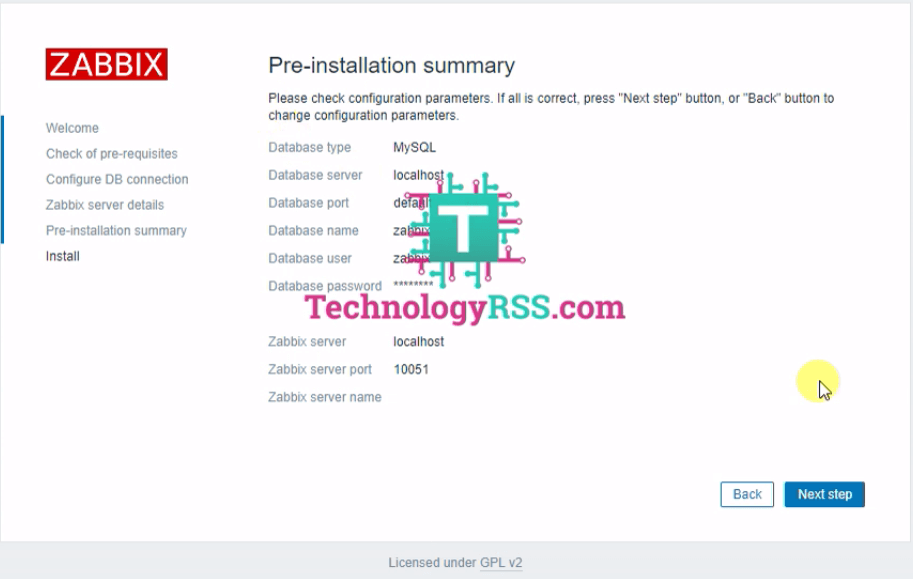
Click Next step for installation done!
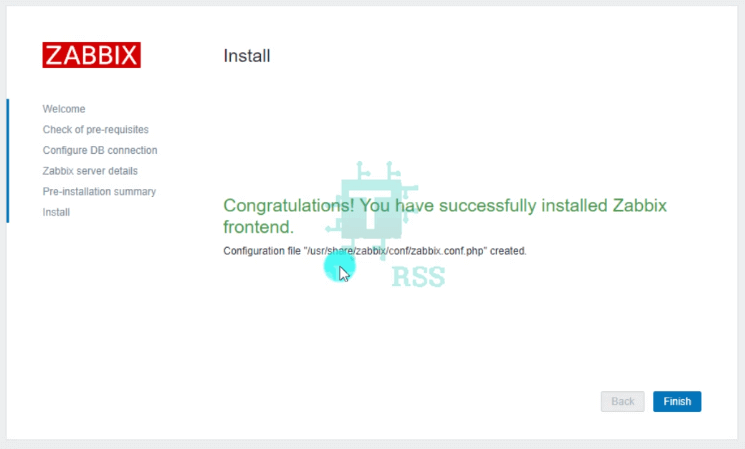
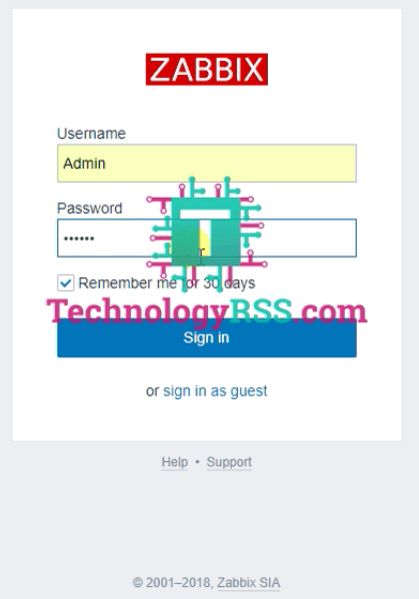
Click Finish for redirect default login.
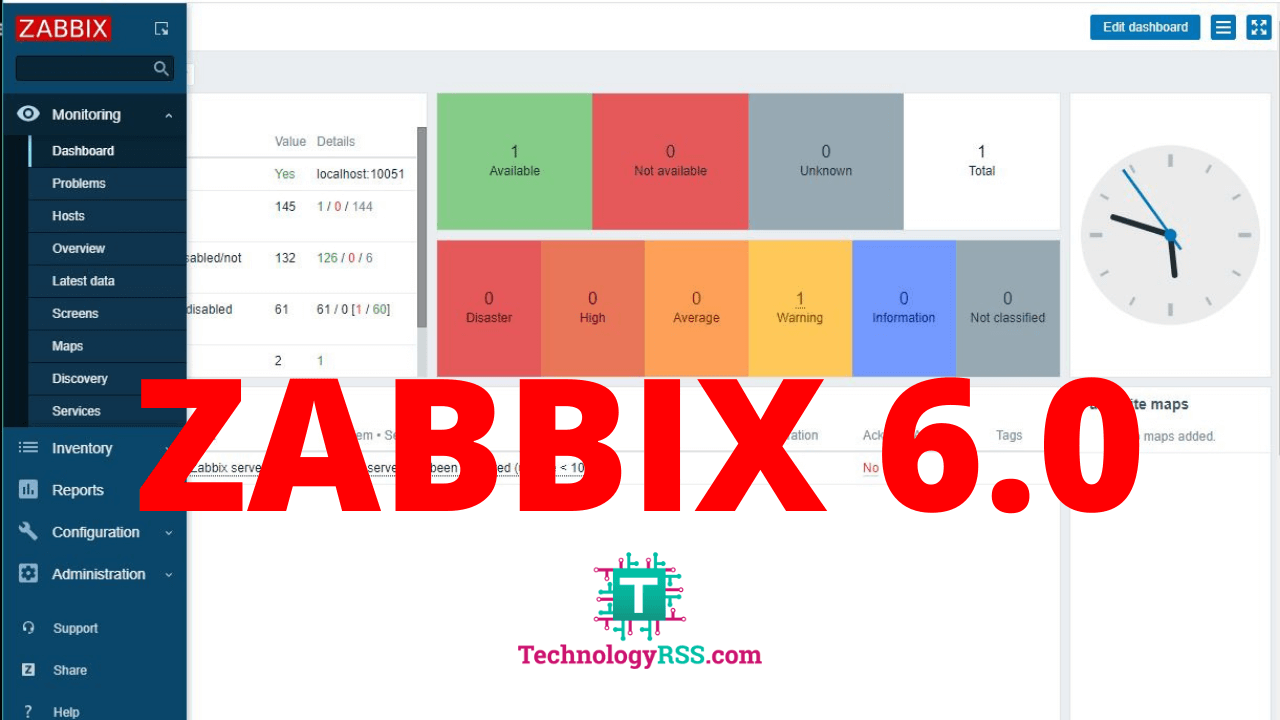
Check Zabbix dashboard as like below.
If you see any error so please see my YouTube channel for more details, Please subscribe my channel for get new updates.

Thanks to all.
- How To Clear RAM Memory Cache Buffer Linux Server - February 29, 2024
- How To Install Apache Cloud Stack Management Server 4.17 On Ubuntu 22.04 - February 1, 2024
- How To Install Zabbix Server 6.4 On Ubuntu 22.04 - October 24, 2023

We really appreciate for your support for buying me a coffee.
It takes us a while to compose and upload new content, as they have to be checked to see if Properly works. We appreciate you if you help me for one cup of coffee to keep us awake and always deliver good quality content.
No contribution is small of an amount. We are grateful for any amount you support us with. Thank you!